Shortbread Cookies

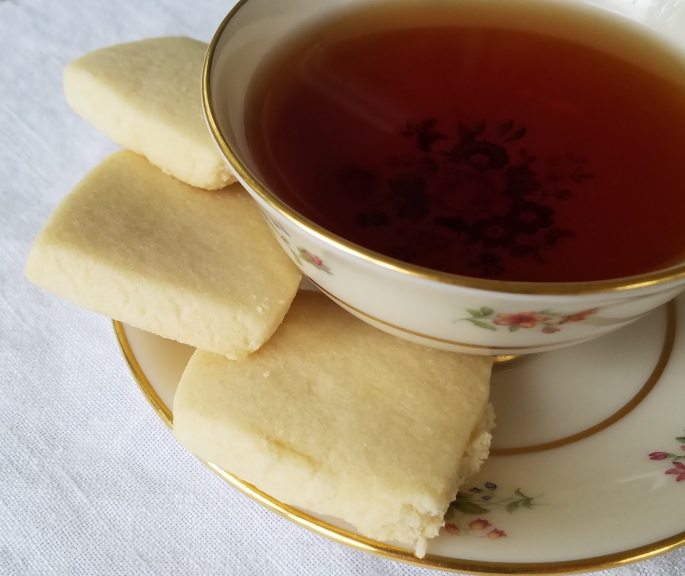
Shortbread cookies are possibly the simplest cookie to make, and use ingredients that you are almost always guaranteed to have on hand. The flavor is delicate, the texture is rich, and they are excellent companions for tea or coffee when you want “just a little something” to snack on. In the batch pictured in this post, I did not use lemon. However, a small amount of lemon zest can add a surprising freshness to these buttery morsels.

20180529_144247.jpg


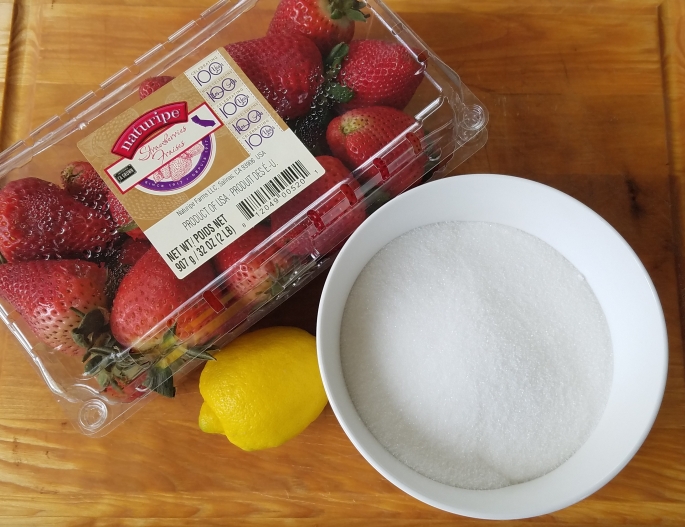
3 sticks room-temp unsalted butter

1 cup sugar

3 ½ cups all-purpose flour

¼ teaspoon salt

1 ½ teaspoon vanilla extract

1 teaspoon lemon zest (optional)

space in freezer for cookie sheet (this recipe may require two cookie sheets, depending on size)


preheat oven to 350ºF

Mix sugar and salt together. Pour into a mixer with the paddle attachment, add the butter, and beat until just combined. Add vanilla (and lemon zest, if using). Continue to briefly beat until combined, scraping the sides and bottom with a rubber spatula once or twice. Slowly add flour and beat until it is incorporated, and the mixture forms a soft dough.

While the dough is still in the bowl, gently press the clumps together into a ball.

Carefully dump onto floured work surface and gently and quickly shape into roughly a rectangle shape a half inch thick. Rub flour on your rolling pin to ensure dough doesn’t cling to it.

Cut into desired shape. I usually cut mine into simple squares approximately 2 to 4 square inches. If you are cutting larger shapes, you may need to increase the baking time by a few minutes.

Place on unbuttered baking sheet (this will likely take two sheets, depending on size), preferably with parchment paper. Slide cookie sheet into freezer for 20 minutes. Taking the time to thoroughly chill the cookies before baking will help the soft dough not lose its shape in the oven.

Bake for approximately 20 minutes, or until very slightly golden at the edges, rotating halfway through.

Serve with tea or coffee as a decadent and understated little nibble.20180529_162530

Savory and Hearty Granola

Olive oil may be a surprising ingredient for granola, but trust me, it adds a savory element to this recipe (and no, it doesn’t make everything taste like a salad!). I primarily use granola with yogurt and fresh fruit, so I don’t usually use dried fruits in my mix. If you enjoy dried fruit in your granola, I recommend stirring them in at the last five or ten minutes of baking. Raisins, goji berries, candied peel… really the options are endless, and completely up to your taste!

20180510_110342 (1).jpg


4 cups rolled oats

½ cup walnuts, crushed into small pieces

½ cup raw pumpkin seeds

¼ cup brazil nuts, crushed into small pieces

½ cup oil of your choice (I recommend trying extra virgin olive oil)

½ cup maple syrup

1 teaspoon sea salt (or pink Himalayan salt)

¼ cup brown sugar


Preheat oven to 300ºF.

Combine all ingredients in a large bowl and stir well to thoroughly combine.

Carefully spread the mixture over a large baking sheet. A glass baking dish may be used, but it slows the baking slightly, so keep that in mind and adjust your baking time accordingly.

Bake for approximately 40 minutes, or until the granola is all a dark golden brown and sounds dry when stirred, stirring carefully ever 10 minutes.

Remove from oven allow to cool COMPLETELY before packaging. This will ensure the granola remains crispy.

Enjoy in parfaits, sprinkled on ice cream, or just dig right in as it is!

20180510_110414

Ham Spread for Sandwiches

This ham spread is a fun way to jazz up the ubiquitous “ham-and-cheese” sandwich, and makes a perfect dainty filling for tea sandwiches. It’s also a nice way to foil the plan of a child who enjoys dismantling the layers of her sandwich (I may or may not know such a child…) by combining all the layers into one! I prefer to use a plain ham without any additional flavorings, but it could be fun to experiment with different varieties of ham. If you discover an especially tasty combination, please share your findings in the comments!

20180501_225729.jpg


7oz ham steak (I recommend Boar’s Head brand)

approximately 3 oz of cheddar cheese

1 tablespoon mayonnaise

1 tablespoon dijon mustard


Roughly chop the ham steak and cheese, and blend together in a food processor.

Turn out into a bowl, and mix in the mayonnaise and mustard until you have a relatively smooth, spreadable paste.

Taste for seasoning, spread on your sandwich, and enjoy!

20180501_225805

Tea Time Essential: DIY Clotted Cream

Clotted cream is a sublime addition to any tea party. Somewhere between whipped cream and butter, clotted cream is a high-fat, delicately sweet dairy spread that is THE best spread for scones. It is difficult to find in the US, and in many areas (such as where I live) it isn’t available at all! Thankfully this is an easy, “hands-off” treat to make. It does take a rather long time, but most of it is just leaving it alone. Since I use my oven almost every day, I like to make clotted cream overnight.


1 quart heavy cream

large, wide baking dish

That’s it!


Preheat the oven to 320ºF.

Pour heavy cream into the large baking dish.

Once the oven has reached 320ºF, place the cream inside and TURN THE OVEN OFF.

Now leave it alone for 12 hours, and do not open the door! I put a sign on my oven handle to remind all the members of the household not to touch it.

After 12 hours, very carefully transfer the baking dish to your refrigerator for a few hours to allow it to cool completely.

Carefully remove the top layer of separated fat, this is almost clotted cream! I do this by removing a bit from the corner of my baking dish, then carefully pouring out the liquid underneath into a container to use later in my coffee, or for making scones.

The remaining solids are the “clotted cream”. Scoop them into a bowl, and allow it to come to room temperature. Once at room temperature, gently stir until it is all smooth. If it’s too thick to be easily spreadable, feel free to add back some of the liquid you poured off earlier, and very gently stir to combine.

Now the real question is… which do you put on your scone first? Clotted cream, or jam?

(I am team “cream first”)

20180430_141912

Fresh Strawberry Jam

What better way to make good use of abundant summer strawberries (or even strawberries that aren’t quite ripe or otherwise unsuitable to eat fresh) than homemade strawberry jam? While this recipe is not suitable for canning, it is extremely simple and satisfying. Homemade jam adds a homey touch to your table that your guests will certainly enjoy. 20180425_140123


2 lb box fresh strawberries

juice of one lemon

2 ½ cups sugar

small plate, chilled in the freezer for at least 30 minutes

*note* While it may be tempting to reduce the sugar, doing so may prevent your jam from reaching a thick consistency


Gently rinse the strawberries and carefully allow to dry completely on a clean towel.

Hull the strawberries and roughly chop. Some large chunks are ok, as they add an interesting texture to the finished jam.

Combine lemon juice and sugar in a pot and heat on medium-high heat until the sugar has melted, stirring almost constantly to prevent scorching.

Add the berries and simmer until they are almost completely mushy and dissolved, about 40 minutes depending on how large you chopped them, stirring very frequently.

Test the consistency by removing the chilled plate from the freezer, and dropping a small amount of the mixture onto the plate. If it forms a thick gel, you’ve got jam!

Allow the mixture to cool completely before storing in the refrigerator.

20180427_145611